Hello friends, yogis and family members,
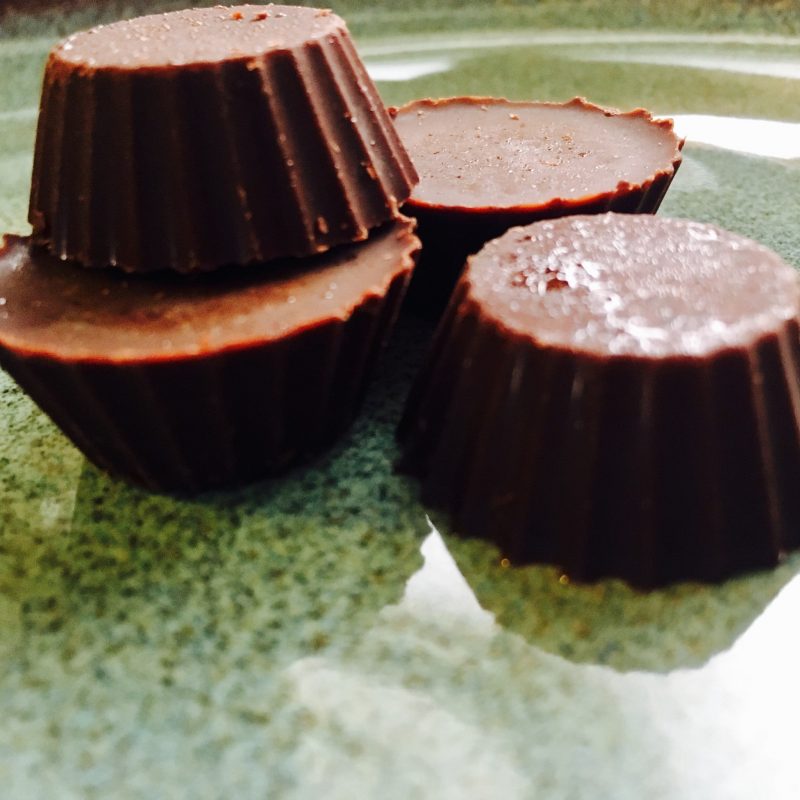
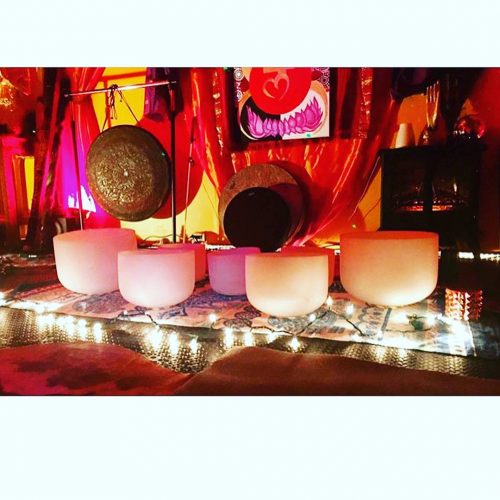
First of all thank you for all of your support and love up at the castle this summer. We have enjoyed sharing and practicing with you and we look forward to our deepening connection with you all on this healing path we are on. As most of you know Siri and I have cut processed sugar out of our lives and it has been challenging but essential for optimum health in mind and body. So… we decided to do a very strict cleanse no fruit, wheat, potatoes, beans, peanut butter… and absolutely NO sugar. When Siri presented me with our diet, I was scared and a bit frustrated. I didn’t really understand what I was signing up for to be honest, but I decided to go for it… Who couldn’t use a sugar cleanse and it was only for 2 weeks. Well, I felt much more alive, fresh and less hangry (hungry and angry) within 1 week and then things just got better. We ended up sticking with the diet for nearly 2 months and since then we now eat 1/4 of the fruit we used to eat, bread 2-4 times a month and absolutely no processed sugar or added sugar in any of our food. Here is the good news… We do enjoy chocolate and other treats at least 2-4 times a week with no regrets as it is healthy and sugar free!! Lots of you have tried “My Balls” and chocolates at Yoga Galactica and now… its time for you to have this recipe for yourself and your loved ones <3 Enjoy
First… Put on music that makes you happy so that you can make these special treats with LOVE for yourself and your loved ones.
You will need
Medium glass mixing bowl
Medium sized pan
3/4 measuring cup
Teaspoon
1/4 teaspoon
Spatula
Silicon Mold or Plastic/ Glass container to cool chocolate in. (this can be yogurt containers, regular size pie tin, glass 9×9 pan)
Ingredients
3/4 cup of organic virgin coconut oil
3/4 cup of organic raw cacao in paste, powder or bars (slice the bars into thin slices and then measure it out. Do not use cacao nibs)
2 teaspoons of organic vanilla extract
1 & 1/2 to 2 droppers of organic stevia extract depending on the sweetness and brand
1/4 teaspoon of finely ground Himalayan salt
Optional and fun ideas!
cheyenne pepper if you want spicy chocolates
3 teaspoons of organic honey or maple syrup instead of stevia for a fudge-like chocolate (you can also do one teaspoon honey or MS and one dropper of stevia to cut the stevia taste)
If you want a creamy chocolate try 1/2 cup coconut oil and 1/4 cup coconut butter or manna.
Cannabis oil or butter
CBD oil or butter
Adding berries our favorite are blueberry and raspberries this works really well with a silicon molding tray as you can drop a berry in the middle of your chocolates before you freeze them!! so good!!
Ok here we go!!
1.Fill your medium sized pan up with about 2 inches of hot water from the sink and turn the burner to med/high place your medium glass bowl on top to create a double boiler
2. Add your coconut oil to the glass bowl and warm the oil, water will be simmering.
**If you are adding THC or CBD do that next so that it thoroughly mixes through the coconut oil. I use about 40mg of Cannabis in my chocolates so that it is VERY light, please be very cautious when adding this medicine as it is a powerful one. If you are using this for pain or discomfort you may add a much higher amount of Cannabis. Have fun experimenting with this and again, always use caution.
3. Next add your cacao in whatever form you have and melt it down to a smooth liquid texture and then turn off the burner.
4. 1/4 tsp of finely ground himalayan salt, 2 tsp of organic vanilla extract, and sweetener of choice and stir for about 1 minute. Now taste to make sure it is the flavor you want. You may want yours a bit more or less sweet so take your time and have fun with this step.
** if you want a little spice try adding some cheyenne at this point, just a pinch or 1/8 teaspoon to start. Sometimes I will do a ghost pepper salt on top for the spicy kick too! Try some new things and share what you loved <3
pull out your molding tray of choice and mix chocolate again thoroughly before you pour or spoon into your mold or tray. If you are putting chocolates into a little cup mold like we do for class I suggest mixing before each spoon pour as the salt, stevia and sweetener can sink toward the bottom if you don’t making half the chocolates more bitter and half sweet and salty. It will all taste good, especially if you have been missing out on your sweets.
Pop the tray or mold into the freezer for approx. 1/2 hour and then pull out and cut chocolates with a warm knife to whatever size you want or pull out of molds and put them into a airtight container in the refrigerator to enjoy!
We hope you enjoy this recipe as much as we have! Share with friends, experiment with the recipe and share back. Remember to always make food with the best ingredients you can find and lots of love.
We love you,
Kamala and Siri


